
Method A: One Click Install
1. Go to GitHub - lllyasviel/stable-diffusion-webui-forge and navigate to this area:

2. Download the .7z installer file by clicking the link above. The file is a compressed archive that can be opened by installing 7-Zip, which is free.
3. Create a new folder in your drive and extract the contents of the file into the new folder.

4. Ensure that you have the latest version of Forge by double clicking on update.bat.
5. Double click on run.bat to begin using Forge.
Method B: Manual Installation
If in case the one-click installation method does not work for you, you can install Forge manually by following the steps below:
1. Install Git
- Go to git-scm.com/downloads

- Download the version appropriate to your operating system. For this guide we are following the Windows version (for Python as well).
- Double-click on the Git installer you downloaded. Leave everything at default and click on “Next” until your installation is complete.
- Click “Finish” when done.
2. Install Python 3.10.6
IMPORTANT: Stable Diffusion does not work with the latest version of Python. Please follow the instructions below carefully.
- Go to Python.org
- Click on Downloads, mouse over to Windows, and click on “View the full list of downloads.”

- Press CTRL+F to bring up your browser’s search function and type “3.10.6”. You should see the download link:

- Click on Download. On the next page scroll down to this section:

- Click on Windows installer (64-bit) to download the file python-3.10.6-amd64.exe
- Double click downloaded file to begin installation.

- Make sure to click on the Add Python 3.10 to PATH checkbox.
- Click on Install Now.
- After installation is done, click Close.
3. Install Forge
- Open your Command Prompt (Press your start menu, type CMD and press enter)
- Go to your desired hard drive (e.g. D:)
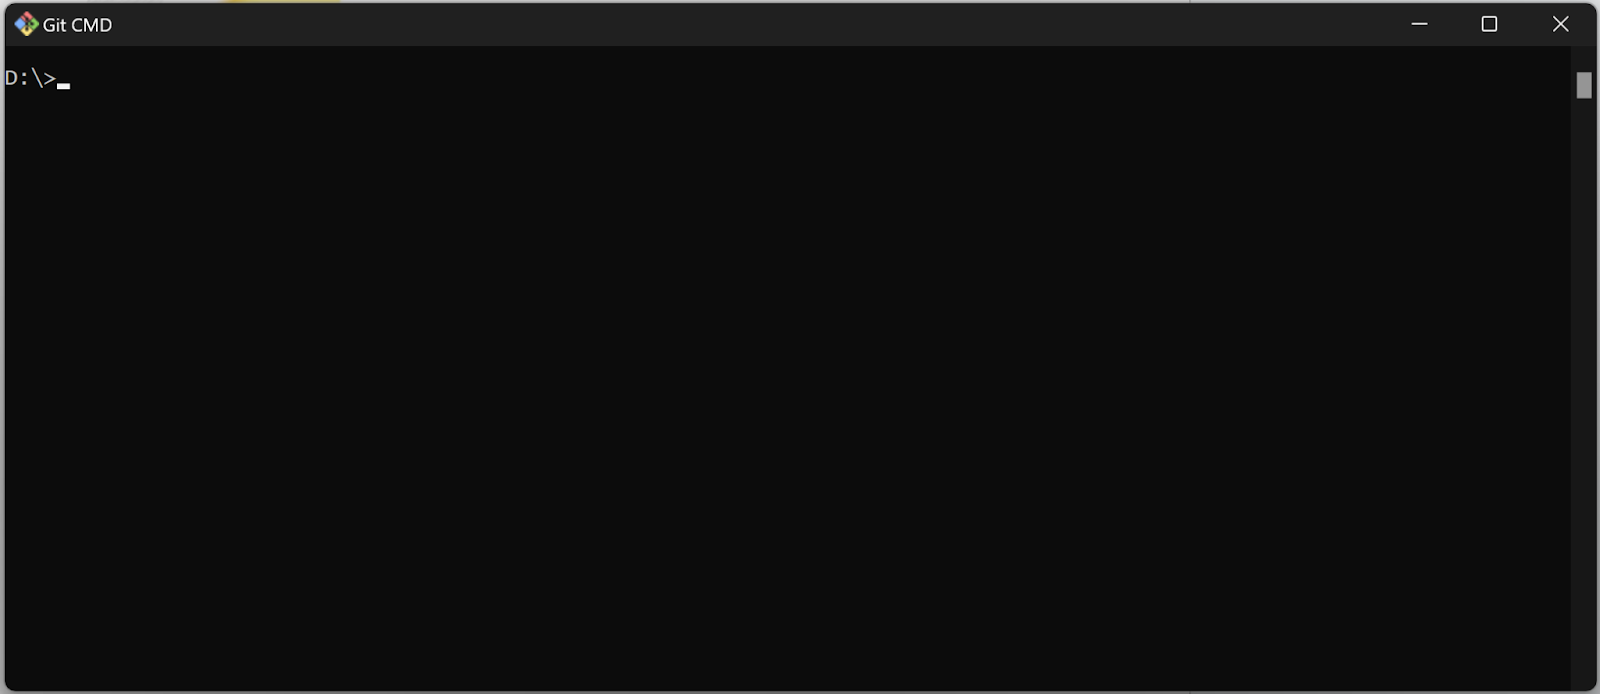
- Type md Forge to create a new folder for your installation.
- Type cd Forge to go into the new folder
- Type git clone https://github.com/lllyasviel/stable-diffusion-webui-forge.git to begin installation.

- Type cd stable-diffusion-webui-forge to enter newly created installation folder.
- Type webui-user.bat to begin using forge. Create a shortcut to this file for ease of use.
You can also double click the webui-user.bat from the folder

4. Installing Models
Forge is installed in your system without the prerequisite Stable Diffusion, Upscale, Controlnet etc. models. Before you start using Forge, make sure to download them and place them in the appropriate folders.
Stable Diffusion
Stable DIffusion Models are placed in: stable-diffusion-webui-forge\models\Stable-diffusion
A good place to download new models is www.Civitai.com, but for the default models, find them below:
Stable Diffusion 1.5 https://huggingface.co/runwayml/stable-diffusion-v1-5/tree/main
Stable Diffusion XL
https://huggingface.co/stabilityai/stable-diffusion-xl-base-1.0/tree/main
Stable Diffusion XL Turbo
https://huggingface.co/stabilityai/sdxl-turbo/tree/main
ControlNet
Stable DIffusion Models are placed in: stable-diffusion-webui-forge\models\ControlNet
All the most common Controlnet models can be found at
1.5 https://huggingface.co/lllyasviel/ControlNet-v1-1/tree/main
SDXL https://huggingface.co/lllyasviel/sd_control_collection/tree/main
Importing models from Automatic1111
You can use the models you already have installed for automatic1111 by adjusting the webui-user.bat file. Open it with notepad and adjust the set COMMANDLINE_ARGS= to
set COMMANDLINE_ARGS= --forge-ref-a1111-home "C:\Users\sebas\stable-diffusion-webui"
Make sure to change the path to your local automatic1111 install, above is just my example.
